Attacking and Defending Active Directory Part I

Introduction

Microsoft Active Directory is one of the most interesting services to attack since we can gather a lot of information just by checking if the server is misconfigured which enables us to enumerate treasure trove of information like Domain Users, Administrative Shares, Password Policies and many more.

In this series, I will be separating this into three parts. The first part will include the introduction of Active Directory and its components.

The second part will include different types of attacks against Active Directory and the demonstration on how to execute these attacks.

And lastly, we’ll be covering different approaches in defending and reducing attack surfaces of Active Directory.

What is Active Directory?

Active Directory or AD is a centralized Windows OS directory service that stores information about objects on the network and automates the management of user data, security, and distributed resources.

Active Directory Components

Just to give you an overview of the different components of Active Directory, the Active Directory consists of:

  • Domains
  • Forests
  • Sites
  • Domain Controllers
  • Organizational Units (OU)

Each of these components has their own purpose that enables Active Directory to function within an organization.

I will just summarize the meanings and functions of these components but you can read more about Active Directory on the official documentation of Microsoft.

Domains

Active Directory domains are where the users and computers are located. Each domain holds a database that contains the information of an object’s identity.

For example, I have an AD domain called internal.anotsodev.org. This domain contains all the information of users and computers joined in this domain.
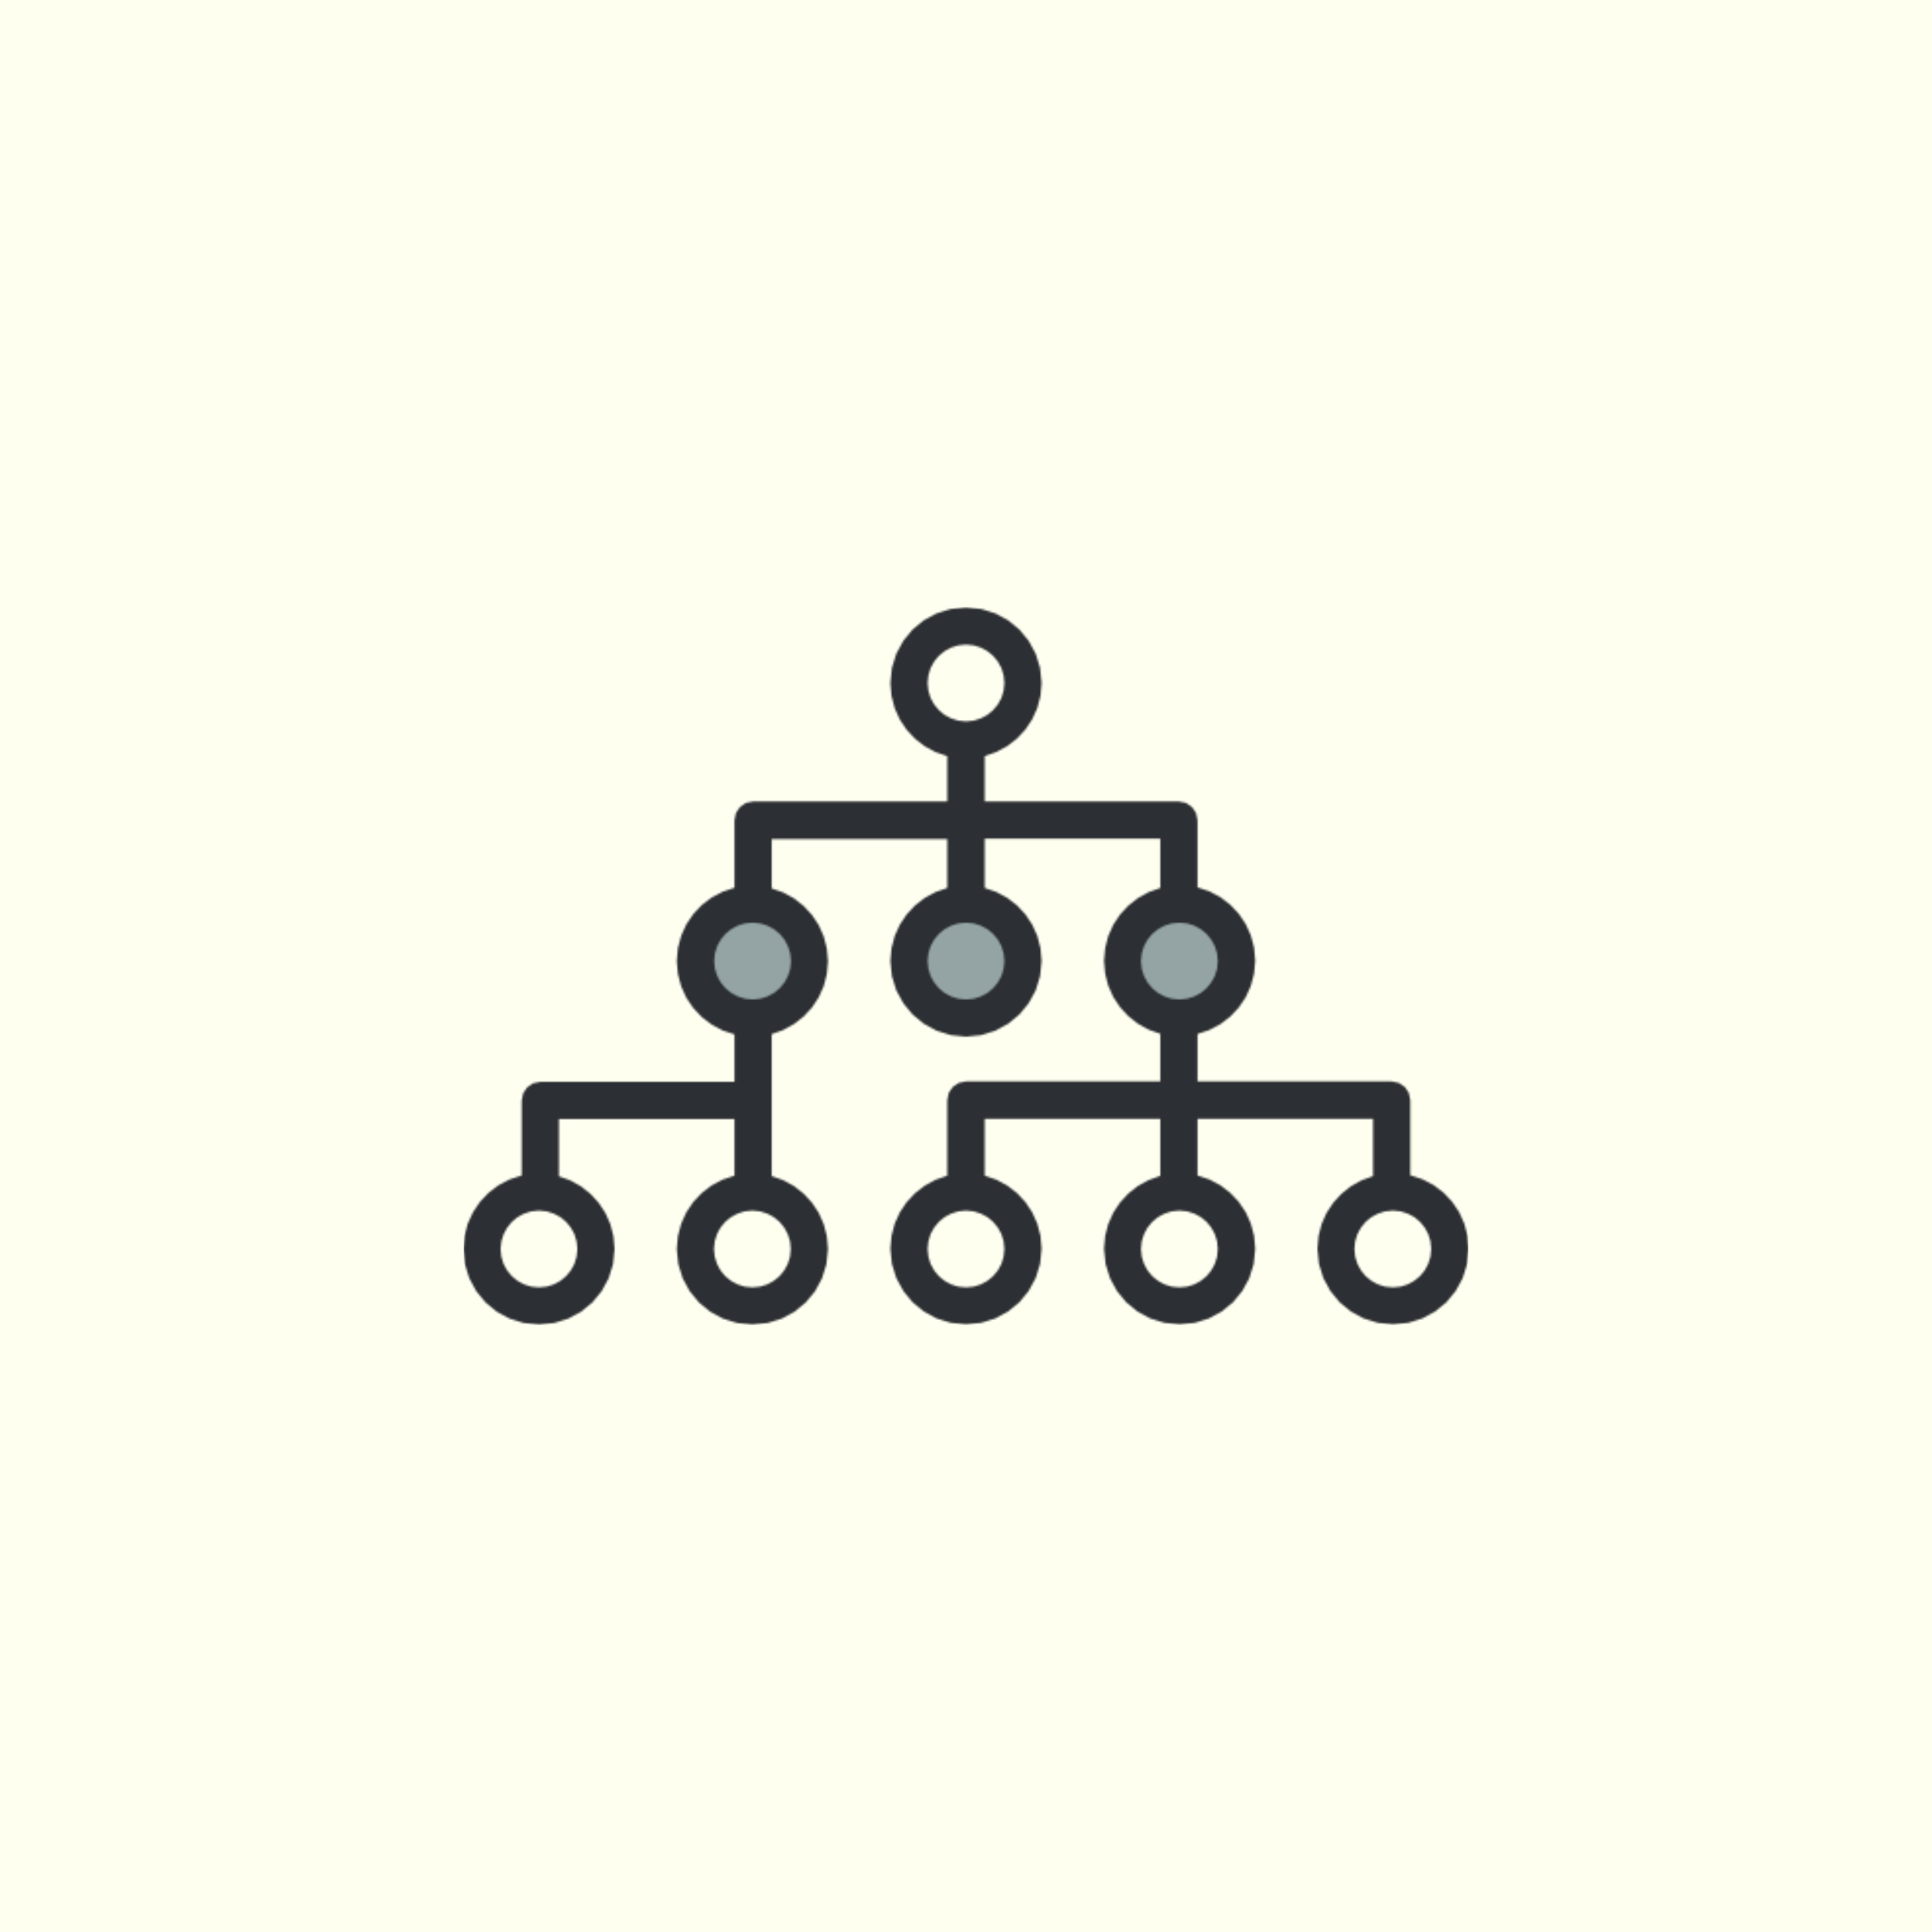
Forests

Active Directory forests are the topmost logical containers of the hierarchy. The illustration below shows the organizational domain forest model of internal.anotsodev.org.

Sites

Active Directory Domain Sites enables the users to authenticate with the nearest domain controller and provides domain preference either administrative or least privilege to the current logged in user.

Sites are organized by one or more IP subnets based on the geographic location of the domain users joined to a domain.

Domain Controllers

Active Directory Domain Controllers handles authentication requests and verifies users if they have access to domain resources. Domain Users’ preference and permissions are defined via group policy set to the Domain Controller.

Organizational Unit (OU)

An organizational unit (OU) is a subdivision within an Active Directory into which you can place users, groups, computers, and other organizational units. You can create organizational units to mirror your organization’s functional or business structure. Each domain can implement its own organizational unit hierarchy. If your organization contains several domains, you can create organizational unit structures in each domain that are independent of the structures in the other domains.


So that ends the first part of the “Attacking and Defending Active Directory” series.

I will be posting the second part of this series which is the actual attacks that are being used against active directories next week.

Stay tuned and be safe!

References:


Subscribe for more!

To stay up to date with my latest posts and more InfoSec guides, make sure to subscribe to this blog by entering your email address below.

I promise I won’t be spamming your mailbox. Because no one loves spam. AMIRIGHT?

How to identify phishing emails

This blog post will help you identify phishing emails and learn what are the tools being used in checking if the sender and links are legitimate.

The scenario in the next section will tell you the example of phishing email attacks and their consequences.

So let’s say you have received an email that is very similar to the services that you are frequently using. For example, from Paypal saying that someone logged in to your account, or from coins.ph (digital wallet used in the Philippines) saying that you have an unclaimed reward because you and your friends are verified.

Since it has gotten your attention and you are indeed convinced that you have a reward waiting to be claimed, you unknowingly ignored the red flags such as the email address of the sender and the inconsistencies of the email format. So you clicked the button and it redirected you to a familiar site but with an unfamiliar URL. Now you entered your credentials and clicked the login button but instead of prompting you to enter the authentication code from your 2FA device, it redirected you to the real site of that service you are using.

Now you are wondering, what happened? Let me tell you…

You just got phished!

The fake site where you entered your credentials has already gotten your login information. Your email address, your username, and password. Everything.

So if you are using similar credentials to other services, you are basically f’d up.

Now, to protect you and help you to be vigilant. Take your time to read this post and familiarize yourself with several characteristics about the emails that you have received that would indicate that these could be phishing emails.

This post will cover the basic approach to identify phishing emails.

Just to give you the overview, here’s the outline of this post.

  • Identify phishing emails by Internet Headers analysis and Email Reputation Lookup
  • Containment Approaches
  • Summary

Identify phishing emails by Internet Headers analysis and Email Reputation Lookup

In this section, you will learn how to analyze headers and identify the source IP of the sender or the relay server that they have used to send the phishing email.

We’ll be using this tool called MxToolbox. You may read the brief description from their site to learn more.

ABOUT EMAIL HEADERS

This tool will make email headers human readable by parsing them according to RFC 822.  Email headers are present on every email you receive via the Internet and can provide valuable diagnostic information like hop delays, anti-spam results and more.
MxToolbox Email Header Analyzer

So before we use this tool, let’s get first the internet headers from the suspected phishing email. I will be using the internet headers of the email that was sent to my Protonmail address.

Coins.ph phishing email sent to Protonmail
Example email sent to Gmail

You may view the internet headers of your email on Protonmail by clicking the dropdown button then View Headers. On gmail, click the ‘kebab’ (three vertical dots) button then Show original.

After clicking the View Headers or Show Original button, just copy all the content then paste it to the email header analyzer tool then click the Analyze Header button.

After you submit the internet headers for analysis, you’ll see this page which contains the summary of the analysis.

Header Analysis Summary

On this email, you may notice that the sender used Gmail to send his/her phishing email

Since we know that Gmail IPs are reputable and are not really dangerous, let’s just use another phishing email internet header for the sake of demonstrating the identification of dangerous sender’s source IP.

Email sent from blacklisted/spammer IP

So you may notice that the sender’s IP is 185.234.219.119. We can copy the IP address to check its reputation using open-source intelligence services such as Talos Intelligence by Cisco.

IP Reputation Lookup result

By using this tool, you can see details such as the location, reputation, owner, content, and blacklists that may help you to assess how dangerous the sender is.

Now, let’s move back to the MxToolbox analysis result to get more details about the email.

Headers Found

You may notice that the display name of the sender is not consistent compared to his/her email address. So this will hint us that the email is not really legitimate.

For the header name starting with “X-“, these are custom header and proprietary set by relay servers or mail gateways.

Let’s now move on to the next section, which is the containment approaches if you unknowingly entered your credentials to the phishing site.

Containment Approaches

Let’s say you have entered your credentials to the phishing site and redirected you to the official site, you kept wondering why it did not prompt you to enter 2FA code. You checked again the email and saw that the sender’s details are not consistent, you have realized that you have entered your credentials to a phishing site since you did not notice the URL since you were using your phone when you clicked the link embedded on the email.

So what should you do about this incident?

These are the steps that you MUST do to contain and prevent the attacker to abuse your credentials:

  1. Install a password manager (1password, Enpass, or Bitwarden) then generate hard to guess password then change your password immediately
  2. Log-out all the sessions of your account
  3. If you are using similar login details on other services, change their passwords immediately
  4. Install virus scanner software then run a full scan in case of malicious executables downloaded on your device
  5. Delete the email on your inbox

After doing these steps, you have now ensured that your account is safe again and won’t be abused by the attacker.

Summary

Just to summarize the topics that I’ve discussed here, we tackled how to spot phishing emails by checking the internet headers and using tools such as MxToolbox and Talos Intelligence to aid us with our analysis. Lastly, we tackled the necessary steps in securing your account again after being a victim of phishing.

So that’s it! I hope you have learned new technologies and tools by reading this blog post. I will be posting more guides and tutorials again soon whenever I have time.

May the force be with you.

Featured Image created by katemangostar – www.freepik.com


Subscribe for more!

To stay up to date with my latest posts and more InfoSec guides, make sure to subscribe to this blog by entering your email address below.

I promise I won’t be spamming your mailbox. Because no one loves spam. AMIRIGHT?

Networking Concepts and Protocols

This blog post contains the Networking Concepts and Protocols course that can be enrolled in Pluralsight. Feel free to skim this outline to get a high-level overview of the topics that were discussed on the course.

Introduction

  • What is networking?
  • Concepts
  • Modeling network communication

Data Networking

  • Data moving from a device to another device

Understanding Data Networking

  • protocols to protocols

Modeling Systems

    • Concept
    • Language
    • Link
    • Physical

The OSI Model

  • Open Systems Interconnect

Physical Layer (Layer 1)

  • Physical Devices
  • Cables
    • Twisted Pair
    • CoAx
    • Fiber Optics
    • Copper

Data Link Layer (Layer 2)

  • Ethernet
  • DOCSIS-3 (ISP to Internet)
  • Move data from one device to another device

Network Layer (Layer 3)

  • IP Addressing
  • IP Routing

Transport Layer (Layer 4)

  • Session between client and server
  • TCP – Transmission Control Protocol
  • UDP – User Diagram Protocol

Session Layer (Layer 5)

Presentation Layer (Layer 6)

  • Decoding ASCII
  • EBCDIC (IBM Encoding)

Application Layer (Layer 7)

  • HTTP
  • HTTPS

Protocols and Port Numbers

Application Layer Protocols (Layer 7)

  • Transferring Data
  • Hypertext Transfer Protocols
    • HTTP (Layer 4 port: 80)
    • HTTPS (Layer 4 port: 443)
  • File Transfer Protocols
    • FTP (Port 20)
    • sFTP (Port 22)
      • FTP over SSH
    • TrivialFTP (Port 69)
      • Used to transfer files without authentication
    • SMB (Port 445)
  • Email Protocols
    • SMTP (Port 25/465/587)
      • Used for outbound emails
    • POP3 (Port 110/995) /IMAP (Port 143/993)
      • Used for inbound emails
  • Authentication Protocols
    • LDAP (Port 389)
    • LDAPs (Port 636)
  • Network Services
    • DHCP
    • DNS
    • NTP
  • Network Management
    • Telnet
    • SSH
    • SNMP
    • RDP
  • Audio/Video Protocols
    • H.323
    • 1720
    • SIP

Transport Layer Protocols (Layer 4)

  • TCP
    • Transmission Control Protocol
    • Uses 3-way handshake to establish session with other devices
      • SYN – SYN/ACK – ACK
    • Uses 4-way disconnect to end established session with other devices
      • FIN – FIN/ACK – FIN – FIN/ACK
      • RST
        • Immediately end established session
  • UDP
    • User Diagram Protocol
    • Only sent packets without any sequence
    • Does not establish session

Transport Layer Addressing

  • Port Numbers
  • Server Port Numbers (Registered/Well known)
    • Registered – 0-1023
    • Well Known – 1024 – 49151
  • Client Port Numbers (Temporary)
    • 49152 – 61535

Binary and Hexadecimal

  • Base 2 (0 – 1)
  • Base 10 (0 – 9)
  • Base 16 (0 – 15) (0 – F)

Introduction to IP Addressing

  • Classful
  • Classless
  • What is an IP address?
    • [ 192.168.1 ] – Network Portion [ .1 ] – Host Portion
  • Classless Addressing
    • Subnet Mask
      • Network portion where all bits are filled
  • Classful Addressing
    • Unicast
      • Class A
      • Class B
      • Class C
    • Multicast
      • Class D
  • Address Types
    • IP Address Types
      • Network Address
        • Identifier for a group of devices
      • Broadcast Address
        • Identifier for all devices on a network
      • Host Address
        • Identifies unique device on a network
    • Network Address
    • CIDR Notation
      • Example: 10.1.1.0/24
  • Subnetting Networks
    • Variable Length Subnet Masking
  • Introduction to IPV6
    • 128 bits long
    • 32 nibbles
    • 8 hextets
    • Network Portion = 64 bits
    • Interface Identifier = 64 bits
    • Leading 0’s = ::
    • 2^64 available hosts
    • Additional Details
      • Dual Stack
      • Unicast Address
      • fe80 = Link Local Address
    • IPV6 Address Acquisition
      • SLAAC
        • Windows
          • Random 64 bit Interface Identifier
        • Unix
          • Modified EUI-64
            • Get MAC Address
            • Break into half
            • add ff:fe in the middle
            • flip 7th bit on the first 8 bits
      • Neighbor Advertisement
    • IPV6 Tunneling
      • Local router creates a tunnel to the IPv6 router to acquire IPv6 address to access resources.

Ethernet and Switching

  • Layer 2 allows traffic between devices
  • Carrier Sense Multiple Access with Collision Detection (CSMA/CD)
    • Collision Domain
  • Duplex and speed
    • Half Duplex – one device communicates at a time
      • Walkietalkie
    • Full Duplex – simultaneous communication between devices
      • Telephone
  • Modern Collision Domain
  • Ethernet Speed
    • GigabitEthernet speeds require full duplex
  • Ethernet II Frame
    • Destination MAC Address (48 bits)
    • Source MAC Address (48 bits)
    • Type (16 bits)
    • Data (1500 bytes)
    • FCS (32 bits)
  • Protocol Data Unit (PDU) – Whole header

Network Topologies

  • BUS
  • Ring
  • Start

Switch

  • MAC Address Table
  • Broadcast
    • Layer 2 Broadcast address
      • Destination MAC address is all FFF…
    • Broadcast domain – group of devices on a local area network
  • Features
    • Broadcast storms prevention
    • VLANs
    • Mirroring switch ports
  • Connecting Switches
    • Broadcast Messages
    • Broadcast Storm
    • Spanning Tree Protocols
      • Shuts down redundancy
  • VLANs (Broadcast Domain)
    • Trunk Link – connects switches that are using VLNS
    • Adds additional details pointing to destination VLAN
    • Also called as Tagged Ports
    • Trunklinks/Access links
  • Switch Port Mirroring
    • Collects traffic to analyze problems within network
    • Mirror the traffic of any port that we want

Power over Ethernet (POE)

  • Gives power to connected devices

IP Routing

  • Routers
    • 2 Interfaces to operate
      • Has unique IP Network
    • IP Packet
IP Packet
    • ARP (Layer 2 Protocol)
      • Retrieves layer 2 address using layer 3 address
      • Device maintains an ARP cache
      • ARP cache will age out entries
      • Bridge between L2 and L3
    • Default Gateway (Router)
      • ARP Default gateway
      • All router must be configured to forward traffic to the right gateway
      • IP segments of the destination addresses must be configured to the gateway
      • Every time a packet traversed gateway, its TTL will be decreased by 1
      • Static Routing
      • Dynamic outing
        • Routing Protocols
          • RIP
          • EIGRP
          • OSPF
          • BGP
    • Tools
      • tracert

Network Services

  • Network Topologies
    • LAN/WLAN
    • WAN
      • CAN
      • MAN
    • SAN
    • PAN

Network Address Translation

  • To communicate with the Internet
  • What it does
    • Temporarily change the private source IP to a public source IP address
  • Port Address Translation

Port Forwarding

  • Socket – IP:PORT
    • 192.168.1.1:1337

Access Control Lists

  • Allow/Deny destination or source IP addresses

DHCP

  • Client will send discover message
  • DHCP Offer
  • DHCP Binding
  • IP Helper Address

DNS Hierarchy

  • Uniform Resource Locator (URL)
    • TLD (.com, .net, .org)
    • SLD (google.com, trendmicro.com)
    • Third Level domain (www)
    • Subdomain (www.xxx.trendmicro.com)
    • Reverse DNS Lookup
      • DNS Record Types
        • A – IPv4 Record
        • AAAA – IPv6 Record
        • CNAME – Canonical Name Record (Alias)
        • MX – Mail Exchange Record
        • NS – Identifies Authoritative Name Server
        • PTR – Pointer Record
        • SRV – Service Record
        • TXT – miscellaneous use

Internal vs External DNS

  • Internal domain name system zone
  • External domain name system zone
    • Uses Internet’s DNS

Course Reference:

Pluralsight – Networking Concepts and Protocols


Subscribe for more!

To stay up to date with my latest posts and more InfoSec guides, make sure to subscribe to this blog by entering your email address below.

I promise I won’t be spamming your mailbox. Because no one loves spam. AMIRIGHT?

Poor man’s log collection on Windows

Introduction

As your organization grows, a lot more log collectors either commercial or freeware are needed to be installed on your network to get logs from different servers running on Windows or *nix.

Let’s say for example this organization called kyle.biz has implemented Arcsight SmartConnectors deployed on Linux servers to get event logs on Windows. And based on my experience, setting up the SmartConnectors is tedious and maintaining them is sometimes a pain.

The limitations were also realized since SmartConnector only gets logs on the server static IPs configured during the installation so there is no way we’ll get the logs from other machines that have dynamic IPs.

Upon research, our team has stumbled upon this article from Microsoft’s documentation page and saw that Windows has already built-in log forwarding feature which is powerful and easy to configure!

So without further ado, let’s now configure the Source Initiated WEC and WEF on our servers! 

Prerequisites

Windows Event Collector

  • OS: Windows Server 2016 
  • Hostname: WEC01.internal.kyle.biz
  • RAM: 16GB
  • CPU: 4 Cores
  • Storage:
    • Drive C:\ – 50GB
    • Drive D:\ – 60GB (we’ll save our forwarded logs here)
  • Joined in a domain.

Windows Event Source

  • OS: Windows Server 2016
  • Hostname: CONSOLESERVER01.internal.kyle.biz
  • Joined in a domain.

WEC Server Configuration

On the following steps, we’ll be configuring our collector server to receive logs which will be initiated by source computers.

Step 1: Open the Event Viewer and click the Subscription.

Step 2: Right-click the Subscription to create a new Subscription. You can also see other actions on the right pane of the window.

Step 3: Enter the subscription name and select the subscription type as Source computer initiated.

Before we proceed in adding computer groups, let’s first configure the events to collect and advanced settings.

Step 4: Click the Select Events then click the manual edit/XML tab then copy the XML format query here: Appendix E – Annotated baseline subscription event query

Step 5: Click OK

Step 6: Click the Advanced Settings then select Minimize Latency.

Step 7: Click OK

Step 8: We’ll now add our domain computers by clicking Select Computer Groups.

Step 9: Since we are joined in a domain, click Add Domain Computers then search for the hostname of the event source. (Ex: CONSOLESERVER01.internal.kyle.biz)

Step 10: Click OK

Step 11: Right-click the Forwarded Events then click on properties

Step 12: Create folder Winenvt\Logs on drive D:\ then replace the log path by entering D:\Winevt\Logs\ForwardedEvents.evtx or refer to the screenshot below.

Event Source Configuration

On the following steps, we’ll be configuring the source computers to forward logs to our collector server.

Step 1: Let’s now configure our event source server machine to point the SubscriptionManagers to our WEC.

Step 2: Open the Local Group Policy then click the Event Forwarding to see the items under that directory.

Step 3: Click the Configure target Subscription Manager and enter on the value

"Server=http://WEC01.internal.kyle.biz.org:5985/wsman/SubscriptionManager/WEC,Refresh=60"

Step 4: Click OK

Step 5: Open Command Prompt then enter gpudate /force to apply the modification in our local group policy.

Step 6: Press Enter

Step 7: Go back to the WEC server then check if the Baseline events already getting logs from our event source machine.

Step 8: We can already see that the events are already forwarded and ready to use for analysis.

So that’s it! I hope you learned something new today and I hope you’ll be using this example to reduce the gap and have greater visibility on your network.

References:


Subscribe for more!

To stay up to date with my latest posts and more InfoSec guides, make sure to subscribe to this blog by entering your email address below.

I promise I won’t be spamming your mailbox. Because no one loves spam. AMIRIGHT?

Phases of Penetration Testing

Penetration Testing or Pentesting is a process where the testers will assess and discover the vulnerabilities that are present in a network or system and will exploit these vulnerabilities to gain access. Pentesting is also the process of simulating real world scenario where the testers will act and think like an attacker to assess and discover weaknesses and exploit those weaknesses of the target system.

There are a lot of topics in penetration testing but I will only discuss the phases and techniques that I usually use when I am attacking a vulnerable system.

In general, the phases of penetration testing are

  1. Reconnaissance
  2. Scanning
  3. Gaining Access
  4. Maintaining Access
  5. Covering Tracks

Before attacking our target system, we always need to plan our moves to get a higher chance of gaining access to the system.

Reconnaissance

So first is the Reconnaissance. Reconnaissance is the phase where we gather available information of the target with the use of search engines and/or social media sites. There are two types of reconnaissance, the passive reconnaissance, and active reconnaissance.

Passive reconnaissance is the gathering of information on Google, company profile, social media, name servers, etc.

Active reconnaissance is the gathering of information through scanning the target system with the use of tools that are available and can be downloaded online.

Beware of the IDS/IPS and Firewall when scanning because we are most likely will fail if the target system blocked our access.

Tools for active reconnaissance

  • nmap
  • maltego
  • etc.

The goal of this phase is to gather the initial information of the target.

Scanning

After we gather the available information of the target, we will scan the target system to discover vulnerabilities that are present for us to exploit.

Tools for scanning

  • nmap
  • auxiliary modules in metasploit
  • etc.

Again, beware of the IDS/IPS and Firewall when scanning.

The goal of this phase is to have an idea on how we can exploit the vulnerabilities that are present on the target system. For example, if the target system is vulnerable to a certain exploit that is available in public, we can add this to our options in exploiting the target system.

Gaining Access

After enumerating our target, we will now move on to the fun part in hacking; the exploitation phase.

  • Proper enumeration can lead to more chance of exploitation.
  • You can use public exploits to attack the vulnerable services that are present on the target’s local machine.
  • Public exploits may not work out of the box so you need to analyze how the exploit works by tracing the source code of the exploit.
  • Modify the source code of the exploit if you need to.
  • In compiling public exploits locally, make sure that it matches the kernel version of the local machine to the target machine.

The goal of this phase is to properly exploit the vulnerabilities of the target and gain low-level or privileged access to the system.

Maintaining Access

When we successfully exploited and got a low privileged access to the system, we need to maintain our access long enough to achieve our goal.

The goal of this phase is to maintain and gain system level access to the system.

Covering Tracks

After we have gained access to the system and we already achieved our goal, we need to delete all the backdoors, exploits, and other files that we used to gain access to the system. We also need to delete or modify the system logs to cover our tracks.

The goal of this phase is self-explanatory.

Conclusion

So there are five phases of penetration testing and these are Reconnaissance, Scanning, Gaining Access, Maintaining Access, and Covering Tracks. There are still a lot of information that wasn’t included here and I hope it gave you an idea and understand the phases and techniques on how the penetration testers attack a system.

If you have any questions or suggestions, feel free to contact me. 🙂


Subscribe for more!

To stay up to date with my latest posts and more InfoSec guides, make sure to subscribe to this blog by entering your email address below.

I promise I won’t be spamming your mailbox. Because no one loves spam. AMIRIGHT?

First step towards learning and sharing new things

Information Security and Ethical Hacking have broad topics to cover and an individual needs to take his or her time in terms of years to learn and master a few things in the chosen field. However, learning new things and spending days and years researching to these fields is worthy of an individual’s time, we can also thank the security researchers and professionals that continuously spending their time researching and sharing their findings on the Internet that helped us to catch up with the latest threats that will affect the security of our assets and other important things that are saved in our electronic devices and to our physical resources.

There are still a lot of good things in learning and researching Infosec and Ethical Hacking to talk about but since this is my very first blog post, I will only introduce myself and share what made me get into learning Infosec and Ethical Hacking.

Okay, so my name is Kyle, an Information Technology graduate. I have experience in developing web applications using PHP programming language and Laravel PHP framework. I just got into hacking just one month ago when my friend shared a site in which you need to hack the invitation code for you to be able to register to the site. The name of the said website is Hack the Box. You can see what this site offers by visiting this link. So when I had free time, I started hacking and enumerating the possibilities to generate the invitation code, and after a few days, I was able to get the invitation code and that really made me feel excited and motivated to continue hacking. He also invited me to their community full of talented professionals and security enthusiasts, and I was able to get all the learning resources that helped me a lot.

Time has passed and now I am here, I was able to hack some boxes in Hack the Box website and I really learned a lot of new things and techniques. I was also able to hack some vulnerable VMs provided by this site called Vulnhub. Now, I am dedicated to learning new more things and will share all my learnings for the others to use and importantly I will also use it as my cheat-sheet if I don’t remember a certain topic.

So that’s it for now, I hope I can continuously learn and share new more things to this blog and of course I will keep myself motivated to research and read books about Infosec and Ethical Hacking to get the fundamentals and skills that I need.


Subscribe for more!

To stay up to date with my latest posts and more InfoSec guides, make sure to subscribe to this blog by entering your email address below.

I promise I won’t be spamming your mailbox. Because no one loves spam. AMIRIGHT?